Backgrounds

Most effective photographs have a foreground, middle ground and background. It is the way a photographer can achieve three dimensions on a two-dimension medium (paper) (see photo classroom topic on this subject HERE). The subject is usually one of the three, most often the foreground. However, that doesn’t make the other two less important. Sometimes you really won’t have a middleground, but you will almost always have a background when the subject is in the foreground.
That makes the background a very important part of the photograph. Today I am not going to talk about scenic backgrounds but rather, backgrounds for wildlife, flowers, macro and such.
Backgrounds serve two purposes. First, they help to highlight the subject. Second, they can add context or place to the subject. In order to highlight the subject, the background should complement it, not distract from it. To add context, the background should be subtle, often just hinting at the place.
With that said, how do you get a clean background that accents the subject? There are several ways.
Subjects stand out well against backgrounds that are completely out of focus where there are no recognizable shapes or lines. To achieve this in the field you only need to do one thing: get distance between your subject and background. How much distance? Well, that depends.
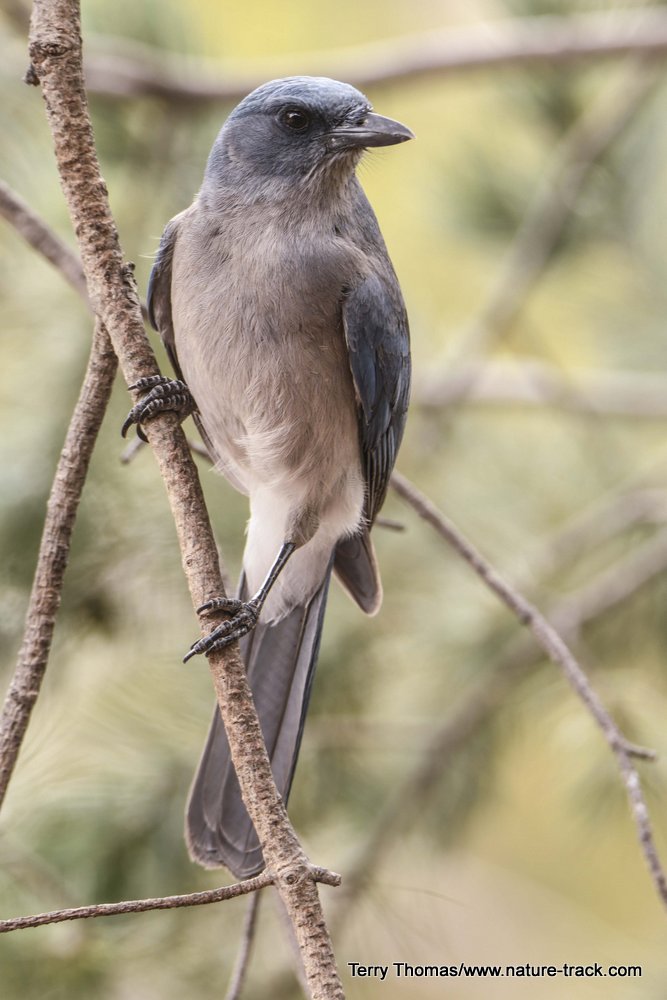
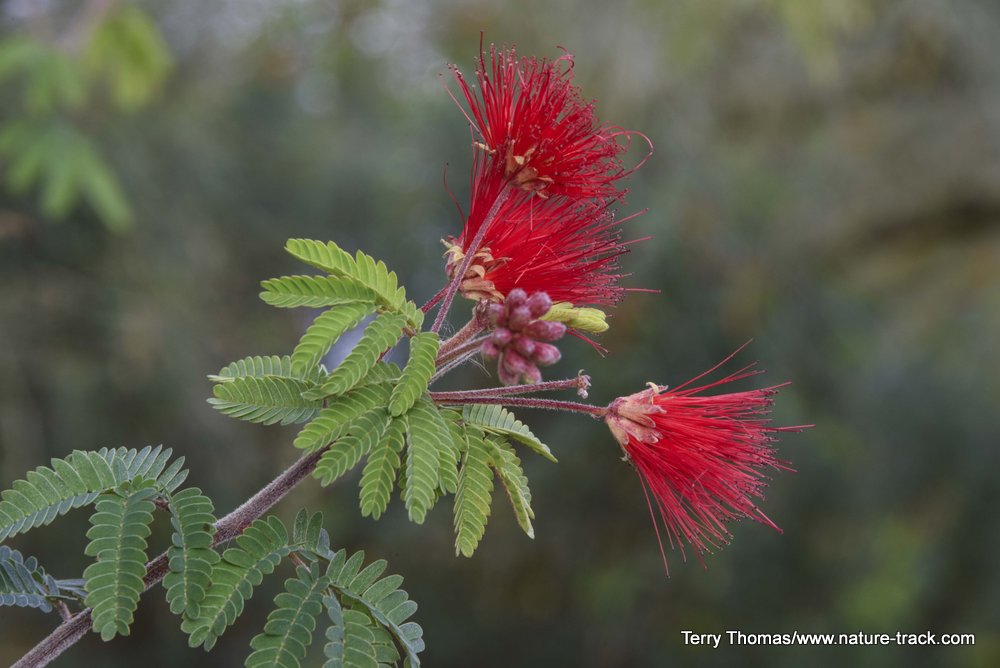
Even though the right image is still "messy" with perch sticks, the clean background makes it a much better image than the left one.
If you are using a macro lens and are up close to a flower, or you are shooting a telephoto lens at high magnification (say, 600mm) and a wide aperture, and you are reasonably close to your subject, this distance may only need to be ten to twenty feet. That sounds like a long way, but it is often easily doable just by changing your position.
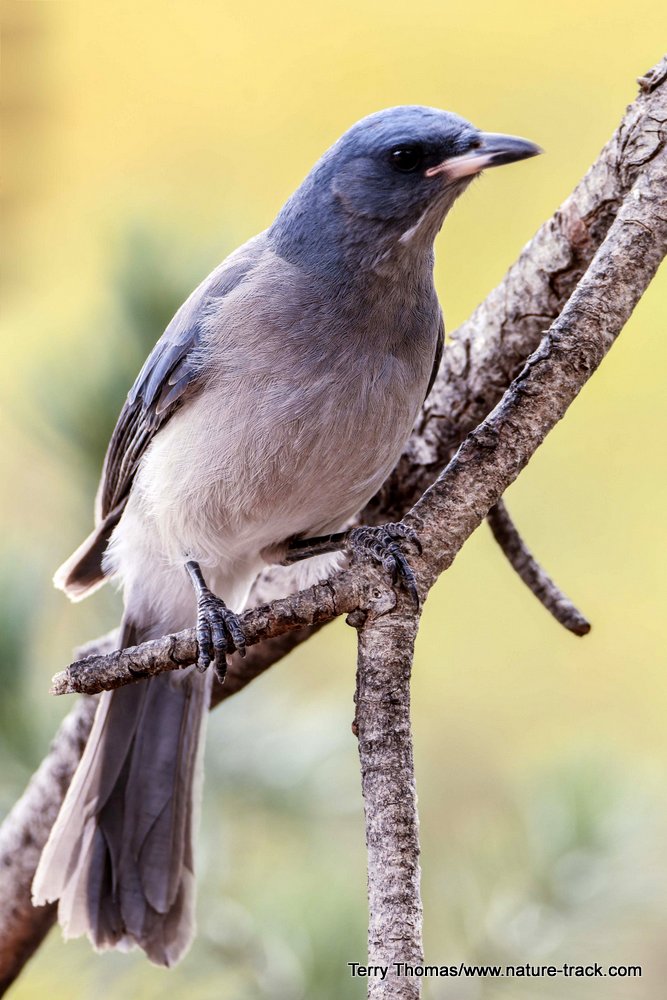
A change of f-stop from f13 to f8 and a slight change of angle made the background in these images much more appealing and really isolated the subject.
A shallow depth of field is always achieved by using a lens at a wide-open f-stop. However, if you are shooting stopped down to say, f32, even a macro subject may require 30 feet or more of separation. The same holds true for shooting at shorter focal lengths.
So, distance is number one. However, you can mimic distance easily. I often take a piece of posterboard and, using spray paints, create a blurred background that I can use behind macro shots. Even at just a few feet of separation, it will be completely soft if you do your painting well. A simple white, black or colored posterboard works well too.
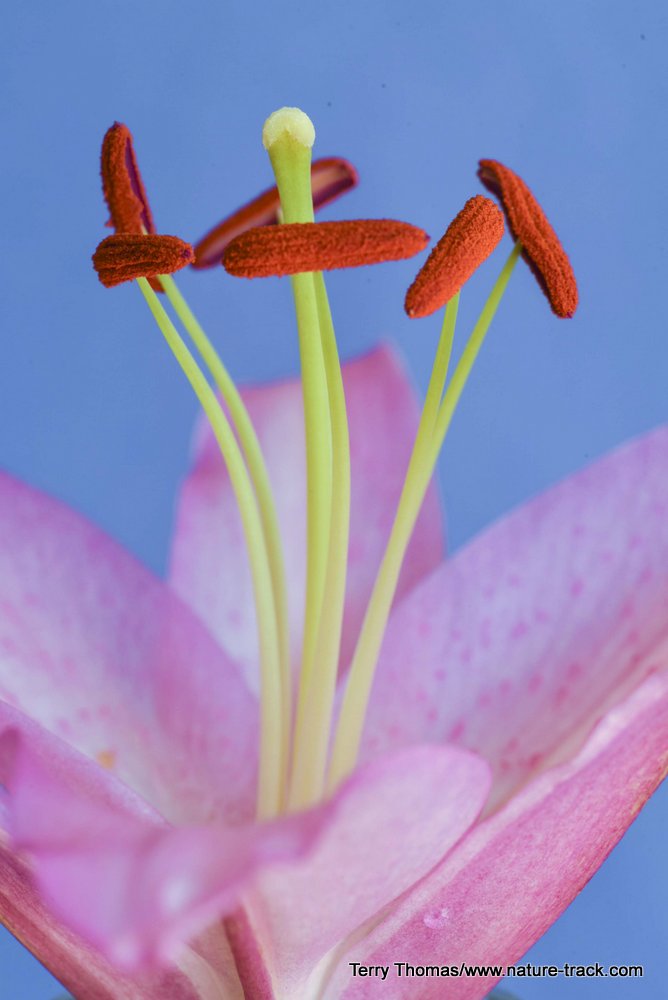
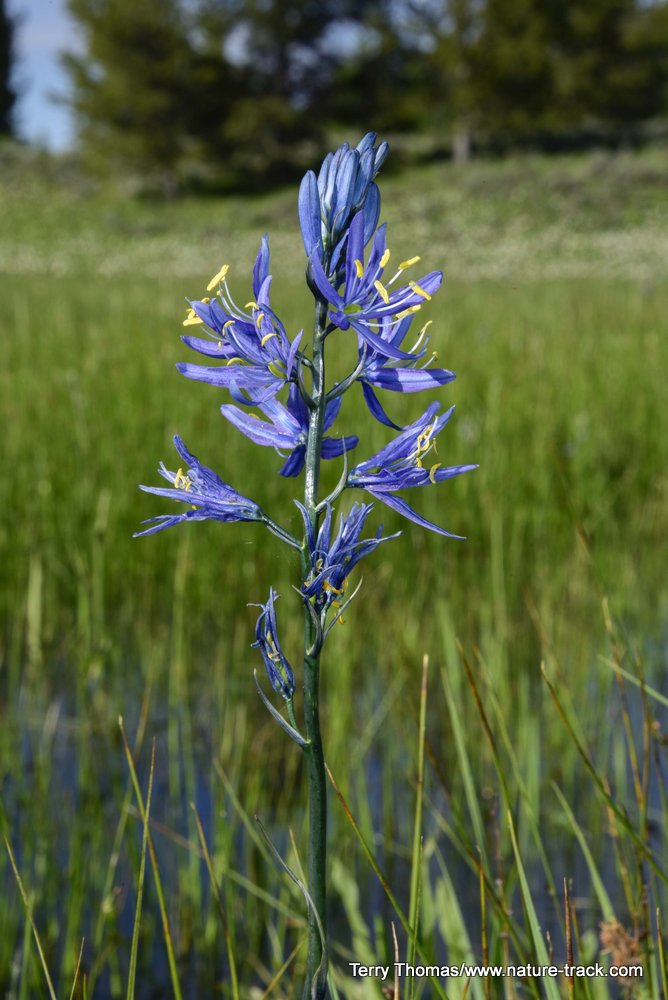
I used a simple blue posterboard behind this lily for a background.
This winter I needed a bigger background for some bird photography. I purchased a 4x8 foot sheet of plywood and applied my spray painting technique. After my first effort dried, I photographed it and checked for places that didn’t look right. Then I added more paint to soften these areas. It worked very well.
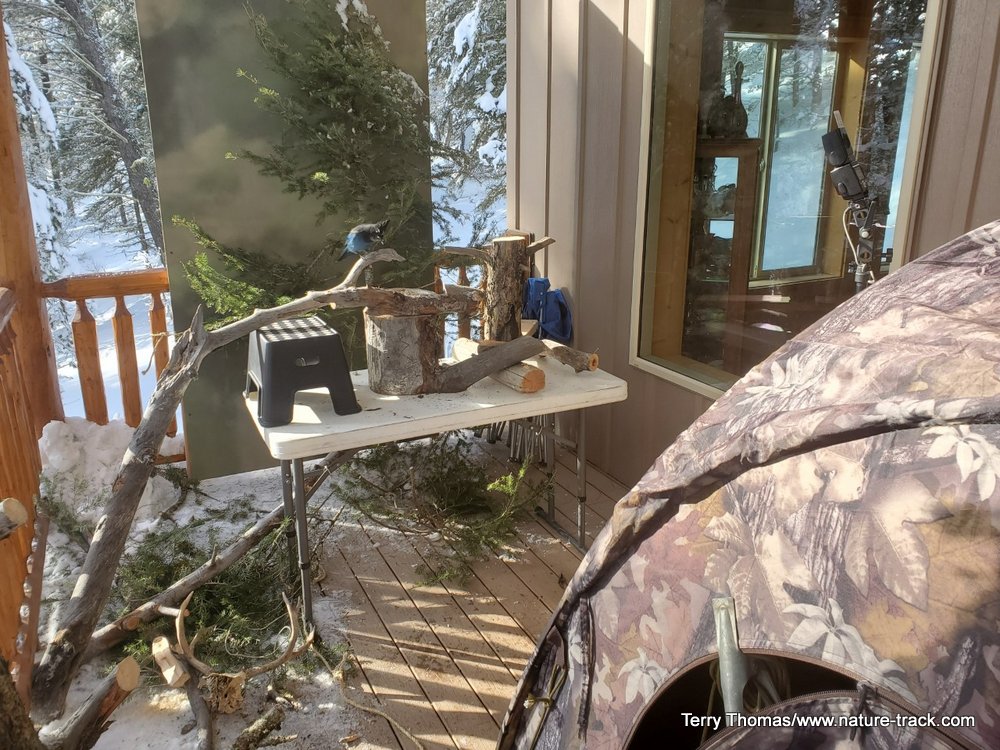
You can see the 4x8 foot sheet of plywood I painted to use as a background for winter bird photography. I didn't want all the images to look like winter and they didn't.
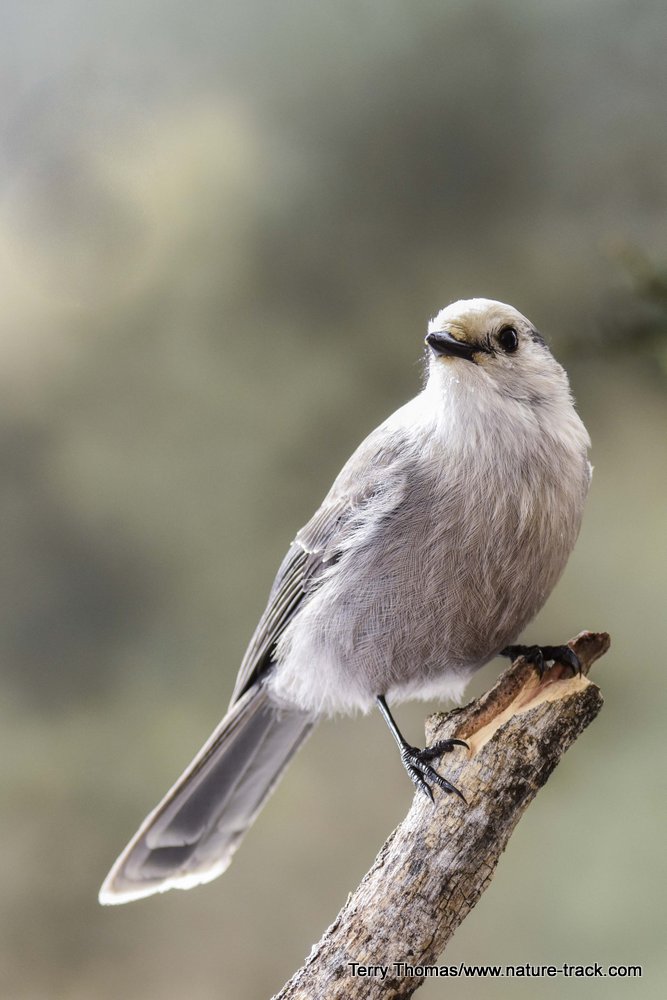
This image was made using the 4x8 painted background.
You can also create backgrounds by photographing fields, mountainsides, flowerbeds and such with the camera completely unfocused and set to the widest aperture. You can even add motion blur to see if that works. Then you print them and hold them behind the subject like I do the posterboards.
Here are four different backgrounds I created by photographing outdoor scenes such as a shrub with flowers on it (top), sunlit hillside (orange), flowerbed (pink), shrubs (green).
I personally know two different professional photographers who use this technique. One is a macro photographer who uses backgrounds that he prints and mounts himself at home in 8x12 size. The other is a wildlife photographer who does a lot of set work (hummingbirds, insects, etc). He prefers a larger 24x36 print mounted on Gatorboard. He then sets it up with a lightstand or other holder behind where he expects his subject to be (usually a feeder or water of some kind).
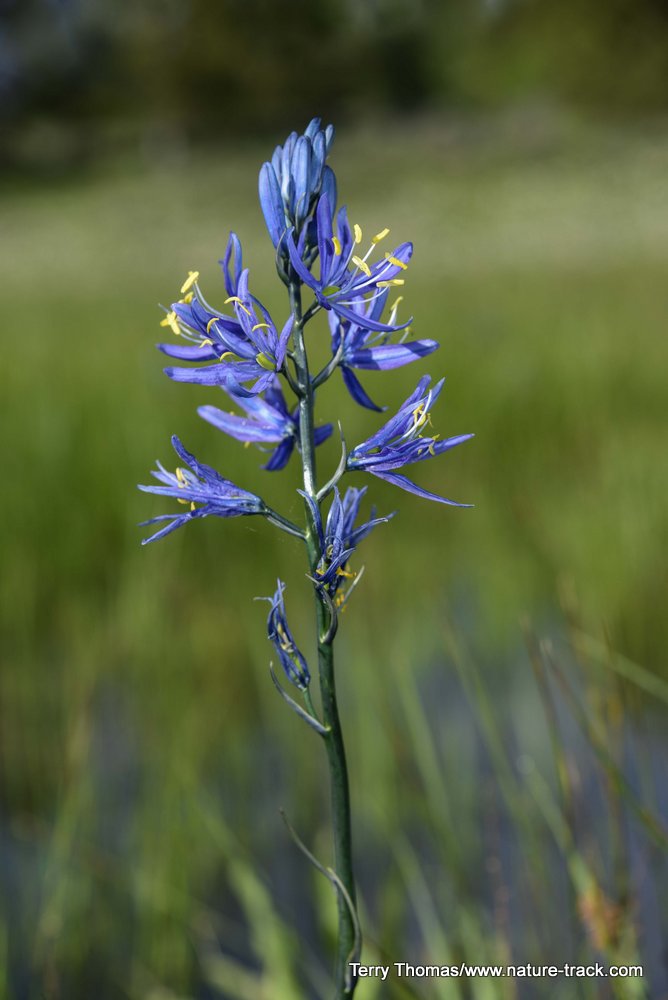
Sometimes I want the background to add a slight sense of place. In this case, I just change the distance from the subject to the background a little. I usually want the background to be very soft but still recognizable.
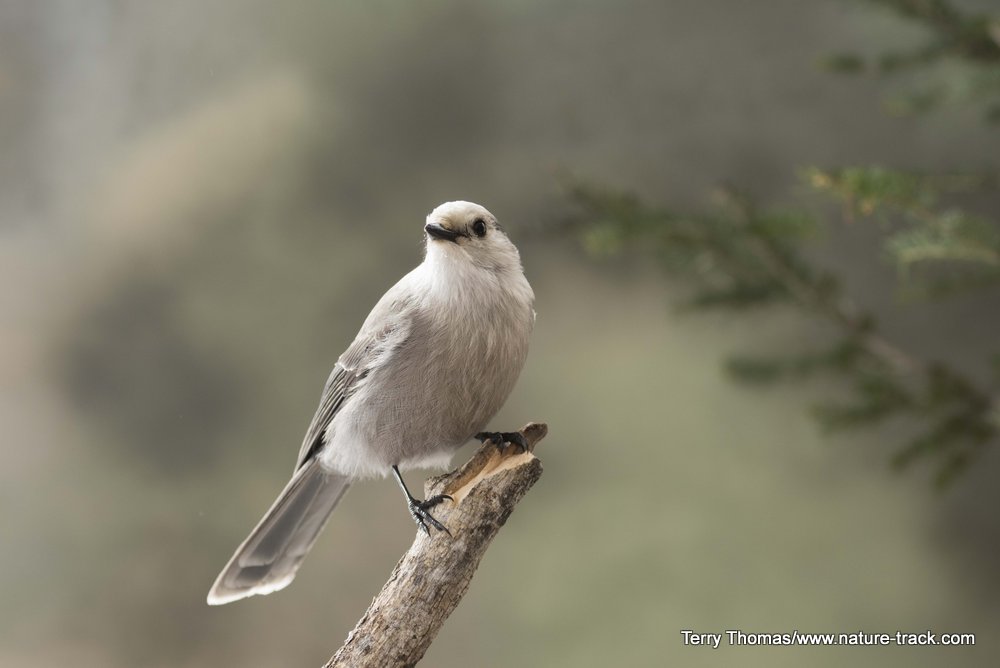
The soft tree branch on the right side lets the viewer know that this was taken in a forest, yet doesn't distract from the subject.
There are times when just a little clean up of the background is all that is needed. I look for things that give an obvious shape such as straight sticks or blades of grass, overly bright spots such as reflections and clutters such as a mass of twigs. I either remove these items or change viewpoints to avoid them.
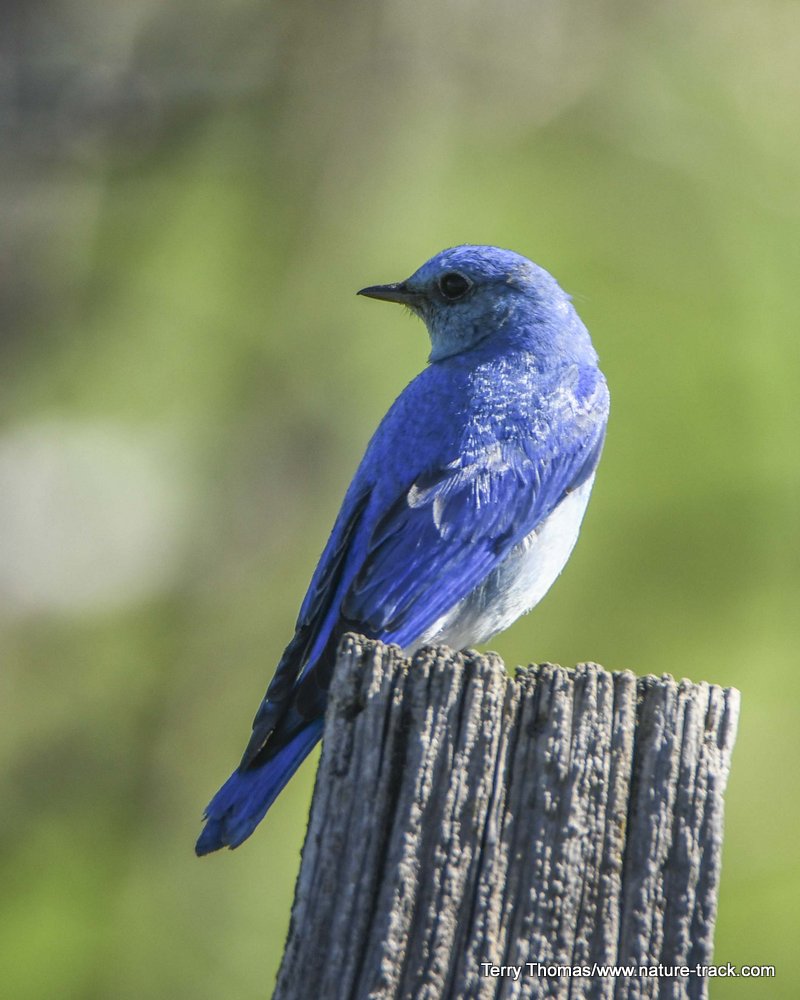
I like this image but I think it would be stronger if I had taken the time to clean up the background. I can see a strong line in the upper left corner and I don't care for the highlight on the left side. Yes, I can remove these, but that isn't always the case without a lot of effort. The rule still applies to do it right IN CAMERA.
Paying attention to backgrounds will improve your photography immensely. You won’t regret the time you spend making backgrounds as appealing as the subject you are interested in.